Set up a custom domain
Whether you're an organizational user wanting employees to use a company-specific domain for login, or you simply wish to use a domain that you own, Olares Space allows you to set up a custom domain for easy access.
This guide walks you through adding your own domain for your Olares system on Olares Space.
Prerequisites
NOTE
A new domain can only be bound if the account is in the DID stage. If the account has already been bound with an Olares ID, it means that the account is already associated with a Domain.
Before creating and configuring your own domain, make sure that:
DID account status: Ensure your account is in DID status (i.e., not yet bound to an Olares ID).
Domain Name: Ensure you have a domain name registered through a domain registrar. The domain should not already be bound to another account in Olares Space.
LarePass app: Make sure the LarePass app is installed on your phone, as it is required for Verifiable Credential and domain management tasks.
Access to the DNS settings of your domain: This is for configuring the TXT record and NS record.
Add your domain
When you have everything ready, take the steps below to add your domain in Olares Space.
In the Olares Space console, navigate to Domain > Domain Name Setup, and enter your custom domain as instructed.

Add a TXT record for your domain to confirm your domain ownership. The system will verify your configuration. Once verified, the domain setup status will update automatically to Await NS Record for Your Domain.

Add NS records to allow Olares Space to configure DNS for your domain.

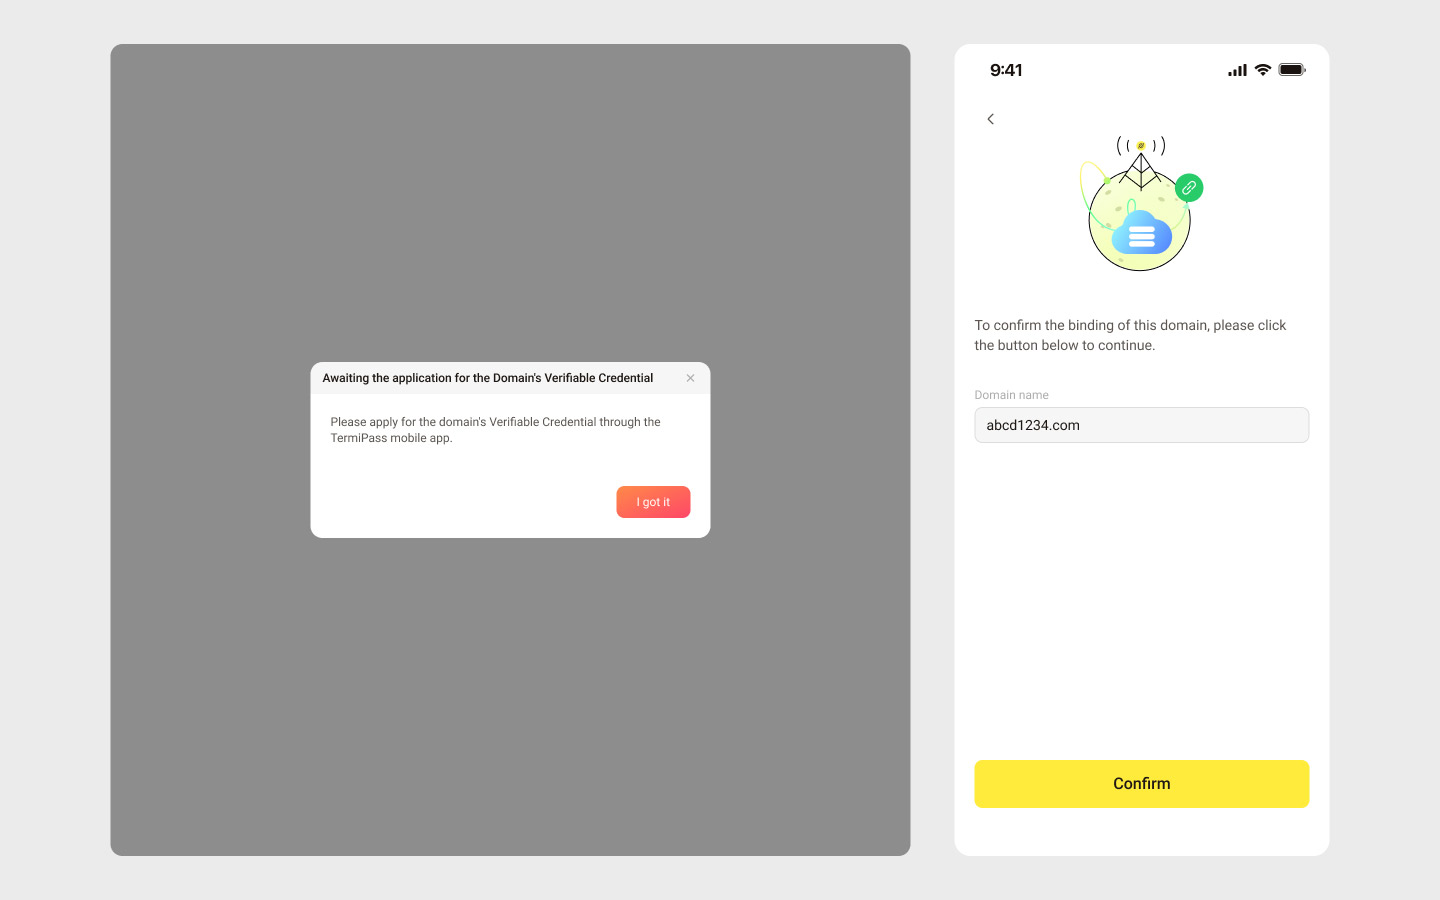
The system will verify your configuration. Once verified, the domain status will update to Awaiting the application for the domain's Verifiable Credential.

Launch your LarePass app, and navigate to Organization Olares ID > Create an Organization. You should see your domain listed.
Click on the domain name to store the domain name on blockchain. When it's done, the domain setup status should change to Awaiting rule configuration on Olares Space.
So far you have successfully associated your domain with your DID. You can now continue to set the email invitation rule and create an organization Olares ID using the domain.
Create an Org Olares ID
Now that your organization has a verified domain name, you or other members you invite can create an Olares ID using this domain.

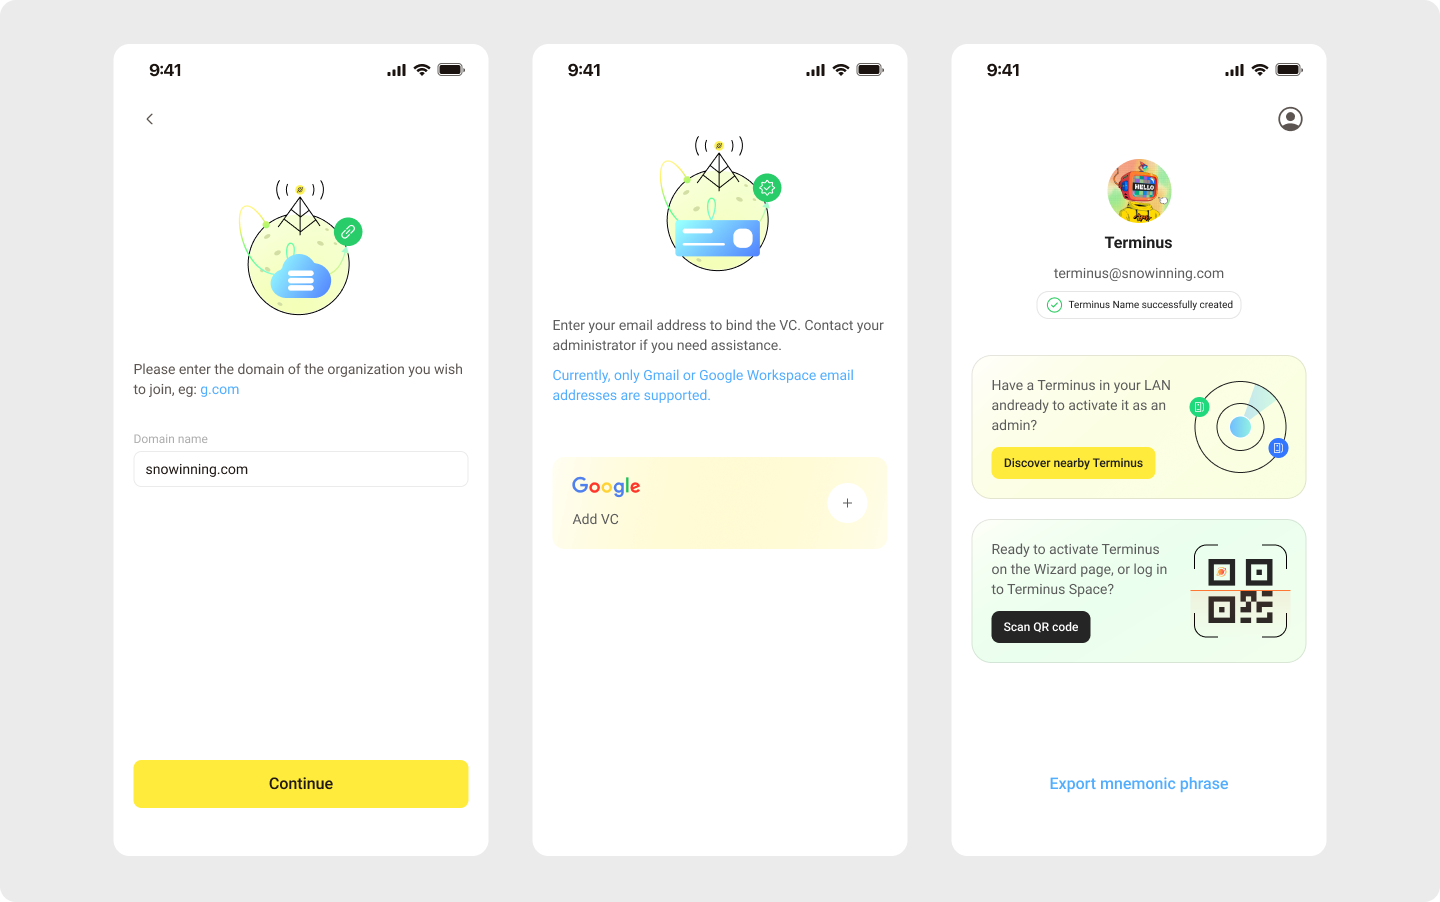
- In the LarePass app, navigate to Organization Olares ID > Join an existing organization.
- Enter your organization's domain name and click Continue. Recheck whether your domain name has been verified and configured if an error occurs.
- Bind the VC via your email accounts. Currently, only Gmail and Google Workspace email are supported.
Upon completion, you will receive an Organization Olares ID. Now you can go ahead to Activate Olares.
Domain status and processing
After submitting a domain name, several steps are necessary to validate the entered domain.
The table below explains different domain statuses and the corresponding actions required:
| Status | Action Required |
|---|---|
| Awaiting TXT record configuration | Add a TXT record |
| Awaiting NS record configuration | Add NS records |
| Awaiting the application for the domain's Verifiable Credential | Complete blockchain domain application on mobile |
| Awaiting submission of the domain's Verifiable Presentation | Complete blockchain domain application on mobile |
| Awaiting rule configuration | Set up email invitation rules for organization members |
| Binding | Wait for binding with Olares, you can access the details page |
| Allocated | Bound to Olares, you can access the details page |