CLI
Olares Installation Script in Command Line
# Environment variable
export KUBE_TYPE="k8s"                          # k8s or k3s (k3s is default)
export REGISTRY_MIRRORS="http://dockermirror/"  # Docker registry mirror URL
export LOCAL_GPU_ENABLE=1                       # Enable local GPU support if hardware is installed on the node
export LOCAL_GPU_SHARE=1                        # Enable GPU sharing

# Execute installation
curl -fsSL https://olares.sh | bash -
Olares Uninstallation Script
For Olares installed on Linux, Raspberry Pi, and Windows (Windows Subsystem for Linux):
shcd install-wizard && bash uninstall_cmd.shFor Olares Installed on Mac:
shbash uninstall_macos.sh
Resolve IP Change Issue
Services within the Kubernetes cluster rely on stable IPs and DNS resolution provided by the cluster's internal DNS. When you change the location of your Olares, its IP address changes. This can disrupt proper DNS resolution for your cluster and make Olares inaccessible.
To resolve this issue, run the following command in Ubuntu in your new network environment:
cd install-wizard && bash change_ip.shINFO
This command is not applicable to Olares on macOS yet.
Add an Olares node locally
Before Install
- Get the
internal IP addressof the Master node. - Add the current machine's
public keyto theauthorized_keysof the user who logged into the Master node.
VERSION="1.3.0"      # Version of Olares installed on the master node
curl -LO https://github.com/beclab/olares/releases/download/${VERSION}/install-wizard-v${VERSION}.tar.gz

mkdir -p install_wizard
cd install_wizard && tar zxvf ../install-wizard-${VERSION}.tar.gz

bash ./publicAddnode.sh
During the installation process, you will be asked to enter relevant information about the Master node. Please input as instructed.
Add a hard drive locally
Before Install
- Insert the hard drive, then format it and create a filesystem in the operating system. The recommended filesystem is
XFS. - Create a new empty directory that aligns with the previous data directory. For example, if the previous system installation data directory was
/olares/data/minio/vol1, the new directory should be/olares/data/minio/vol2. - Mount the new hard drive at
/olares/data/minio/vol2.
VERSION="1.3.0"      # Version of Olares installed on the master node
curl -LO https://github.com/beclab/olares/releases/download/${VERSION}/install-wizard-v${VERSION}.tar.gz

mkdir -p install_wizard
cd install_wizard && tar zxvf ../install-wizard-${VERSION}.tar.gz

bash scale_minio.sh -a driver -v /olares/data/minio/vol2
If you are adding multiple hard drives, you can do it simultaneously. For instance, you mounted hard drives at:
/olares/data/minio/vol2
/olares/data/minio/vol3
...
/olares/data/minio/voln
you can add them all with
bash scale_minio.sh -a driver -v /olares/data/minio/vol{2...n}Add a Hard Drive Node
You can also add hard drives to a new node machine separately from the Master node.
Prerequisites
- The master node must be in multi-hard drive mode or have multiple partitions mounted.
- The new node should also be in multi-hard drive or multi-partition mode.
Before Install
- Get the
internal IP addressof the Master node, e.g., 192.168.1.100 - Get the
internal IP addressof the Target node, e.g., 192.168.1.101 - Add the Target node machine's
public keyto theauthorized_keysof the user who logged into the master node, e.g., ubuntu - Format the hard drives, create
XFSfilesystem - Create contiguous data storage directories and mount them to multiple hard drives or partitions. e.g.
/olares/data/minio/vol1/olares/data/minio/vol2/olares/data/minio/vol3/olares/data/minio/vol4
VERSION="1.3.0"      # Version of Olares installed on the master node
curl -LO https://github.com/beclab/olares/releases/download/${VERSION}/install-wizard-v${VERSION}.tar.gz

mkdir -p install_wizard
cd install_wizard && tar zxvf ../install-wizard-${VERSION}.tar.gz

bash scale_minio.sh -a node -v /olares/data/minio/vol{1...4} \
    -u ubuntu \
    -s 192.168.1.100 \
    -n 192.168.1.101
Install a Custom Version of Olares
To debug a program that involves the startup process of Olares, you may need to build a temporary local version of Olares and replace the service you're debugging.
In other scenarios, consider using Control Hub or kubectl to update services.
# Clone
git clone https://github.com/beclab/olares

# Build
cd olares
bash scripts/build.sh

# Modify your application/service yaml

# Install
pkg_path=$(pwd)
mkdir -p ~/install-wizard && cd ~/install-wizard
tar zxvf ${pkg_path}/install-wizard-debug.tar.gz

# Any version number will do, for example 0.0.0-DEBUG
make install VERSION=0.0.0-DEBUG

# Uninstall
cd ~/install-wizard
make uninstall
Restore Olares from a Snapshot
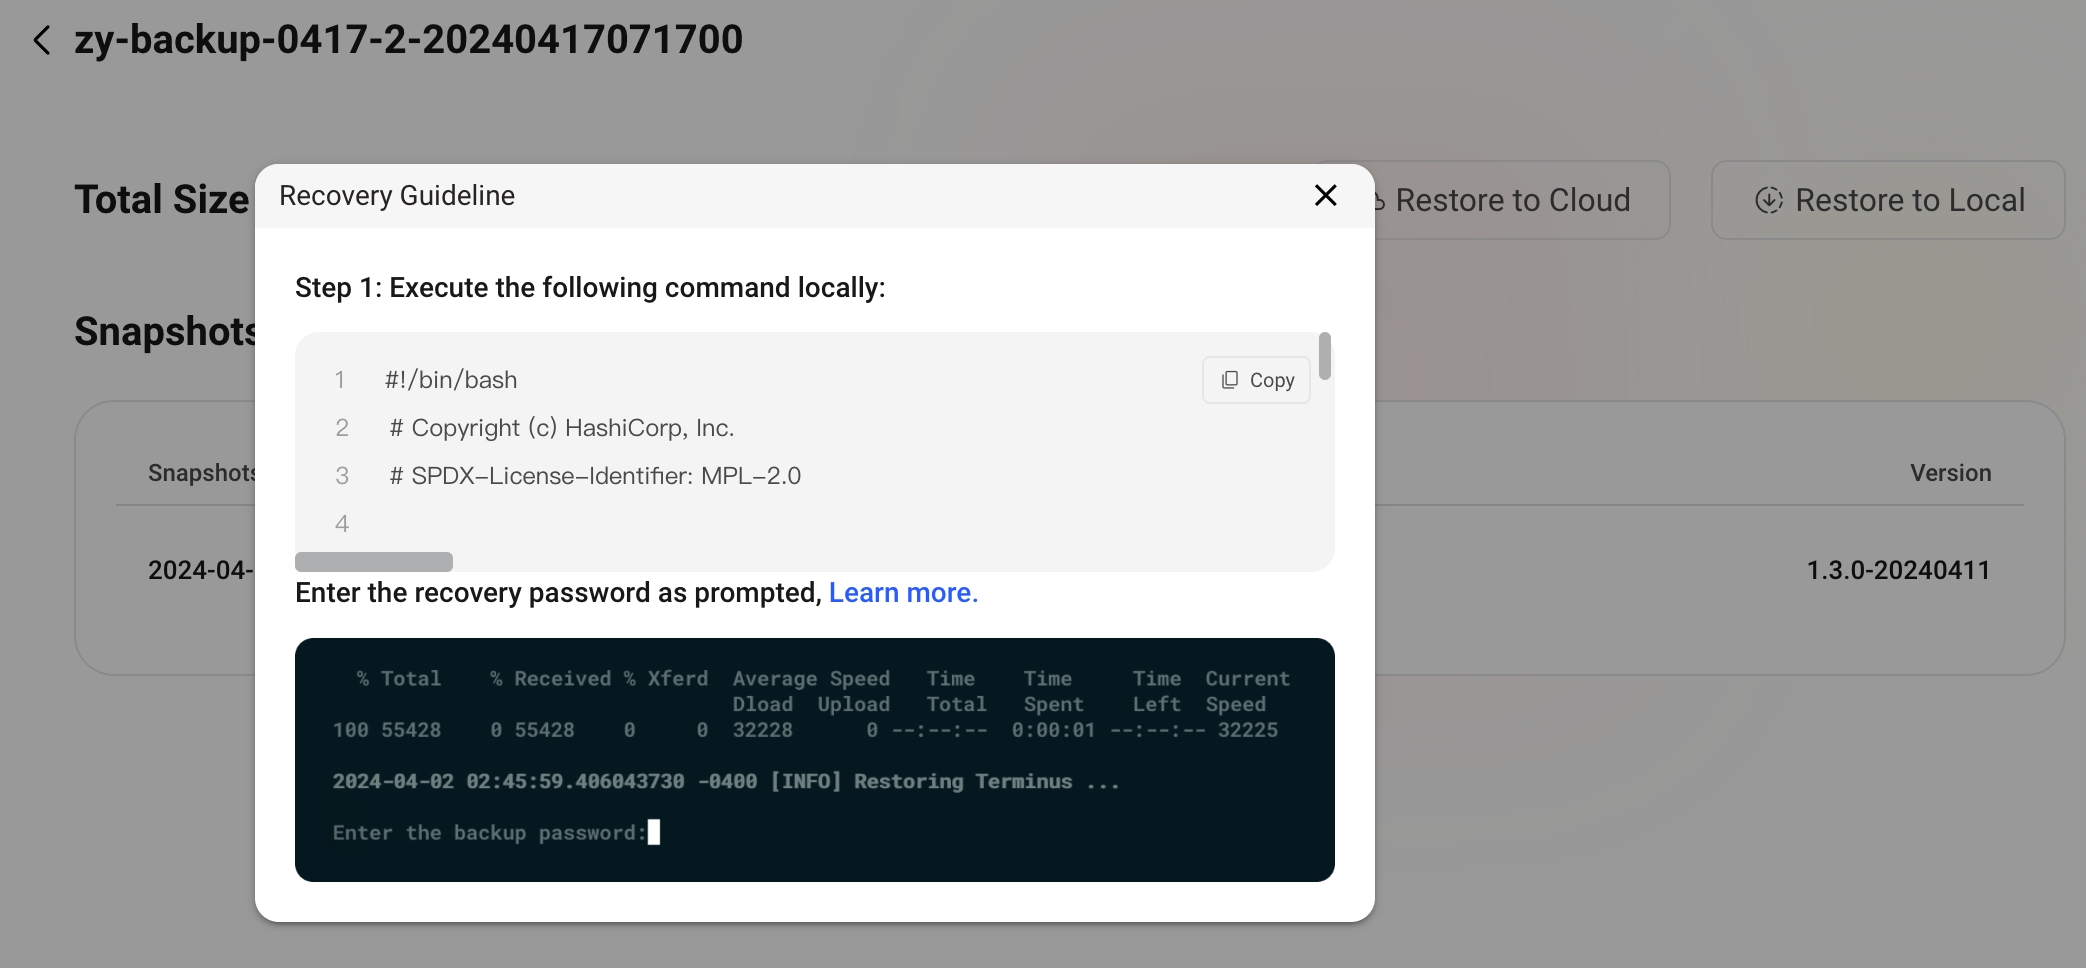
If you have enabled the backup feature of Olares and have backed up system data to S3 storage, you can select a snapshot from a specific point in time to restore Olares.
export KUBE_TYPE=k8s                                  # k8s / k3s
export REGISTRY_MIRRORS="http://dockermirror/"

export TERMINUS_BACKUP_NAME=<backup name>
export BACKUP_S3_REPOSITORY=<s3 repository url>
export BACKUP_SNAPSHOT_ID=<snapshot id>

export AWS_ACCESS_KEY_ID=<aws s3 access key>
export AWS_SECRET_ACCESS_KEY=<aws s3 secret key>

export CLUSTER_ID=<cluster id>

VERSION="1.3.0"      # Version of Olares installed on the master node
curl -LO https://github.com/beclab/olares/releases/download/${VERSION}/install-wizard-v${VERSION}.tar.gz

mkdir -p install_wizard
cd install_wizard && tar zxvf ../install-wizard-${VERSION}.tar.gz

bash publicRestoreInstaller.sh
If you back up your data to the Olares Space, you can directly download the restoration script from Olares Space.
